-

Sales Enquiry
+91 7303873111
-
Quick Support
+91-7303873111
-
Contact Email
sales@omrhome.com
+91 7303873111
+91 7303873111
+91-7303873111
sales@omrhome.com
+91 7303873111
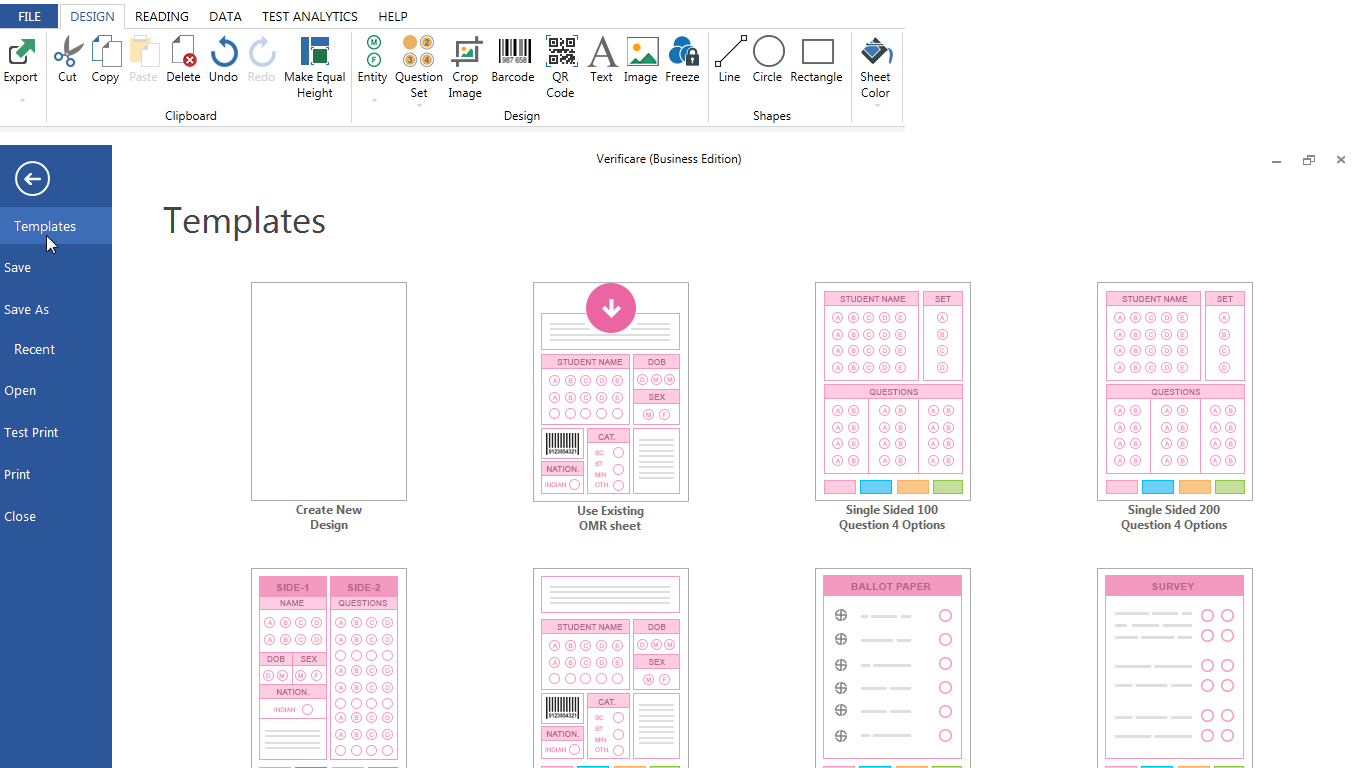
Click, FILE ![]() Templates
Templates
Select the template that fit to your choice.
Click, FILE ![]() Create New Design
Create New Design
Now in DESIGN TAB follow the steps define in screen shot.
Click, FILE ![]() Create New Design
Create New Design
Now in DESIGN TAB follow the steps define in screen shot.
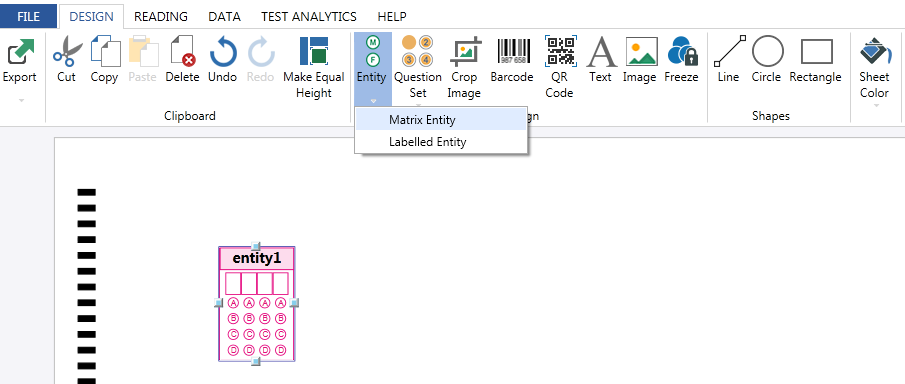
Properties for the Matrix Entity are explained below.
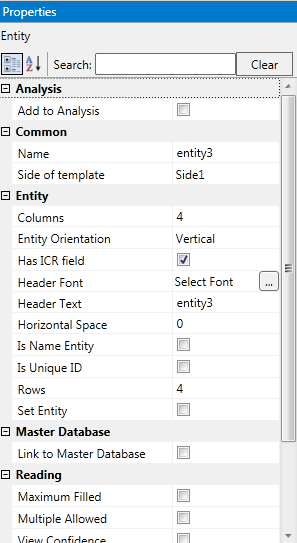
This is used to search a property by name.
This is to specifying whether the current entity is included in list of the entities which can be used for analysis purpose.
Name of the entity.
This is to specify whether the current entity is on front side (1) or back side (2).
This is used to set the no of columns in the entity.
This property is used to set the orientation of the entity whether horizontal or vertical.
The property specifies whether the entity is having the ICR field or not (Check if have otherwise not.)
Set the font of Header in the entity.
Set the Header text.
Set the horizontal space between columns of the entity.
Set the number of Rows for the entity.
Check if the current entity is set entity (Question Set) otherwise leaves it unchecked
Check if Data is to be verified by using External Data (Master Database).
Check if multiple options (more than one option is allowed) are correct for the questions.
Choose the text type ex: text, Numeric, Custom (Alphanumeric).
Choose the Labels you wish to appear on the bubbles of the entity.
Check if the current entity needs Validation otherwise leaves it unchecked.
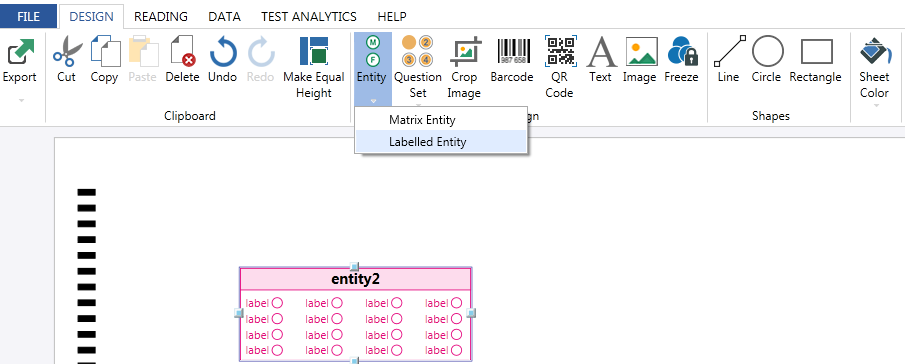
The properties are same as we have for Matrix Entity.

The crop image feature is used to crop the Image and save it in the folder for future reference. Like saving the image of student Photo, Signature or mail etc.

The entity height can be made equal using make equal height feature provided in the Design Panel.

Barcode entity is used to generate the barcode in design phase for new design mode and specifying that the current entity is Barcode in Existing Design Mode.
For using the feature follow the following steps:
QR Code entity is used to generate the QR Code in design phase for new design mode and specifying that the current entity is QR Code in Existing Design Mode.
For using the feature follow the following steps:
Freeze feature is used to lock the design, so as to prevent the template from any changes further.


Directory scan is used to browse the Folder from which the sheets are to be read.
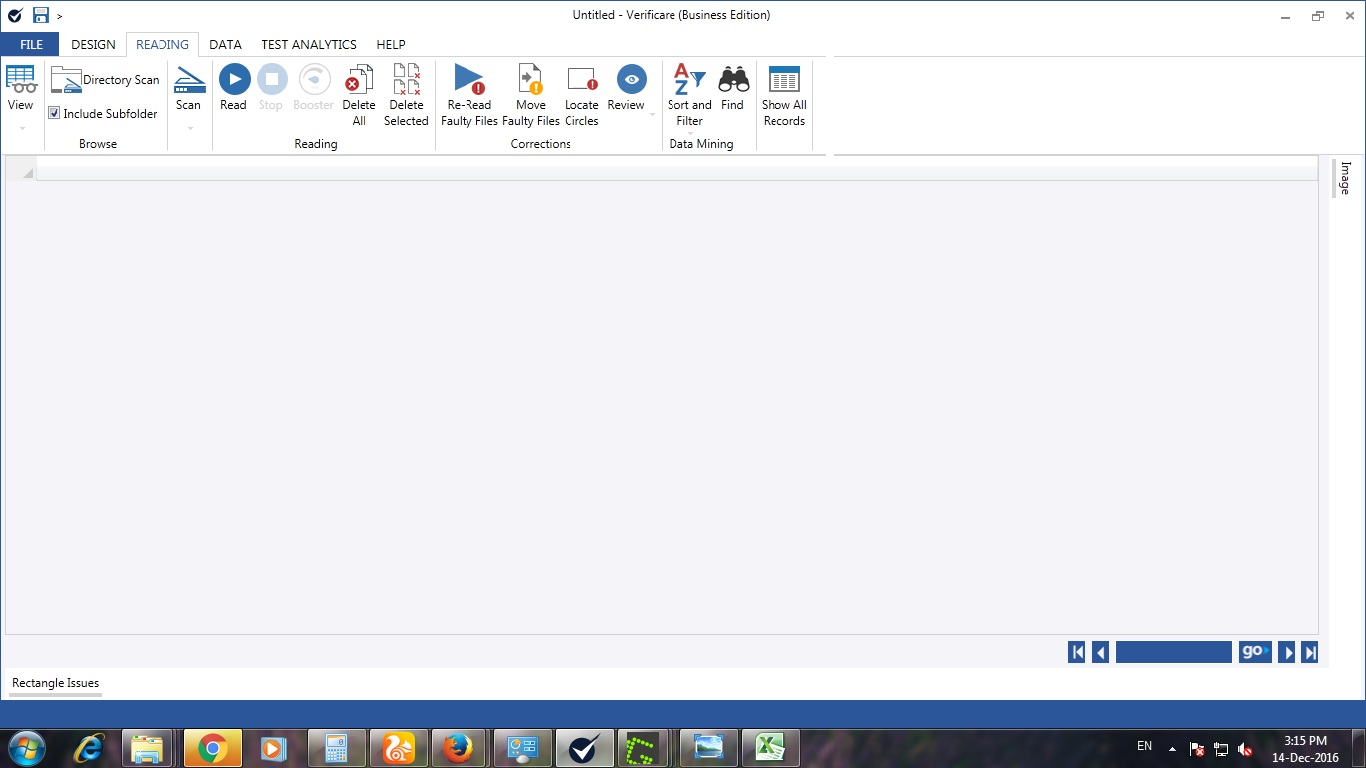
Include subfolder is used to specify the subfolder reading.
Check it to read folder with in folders and so on.
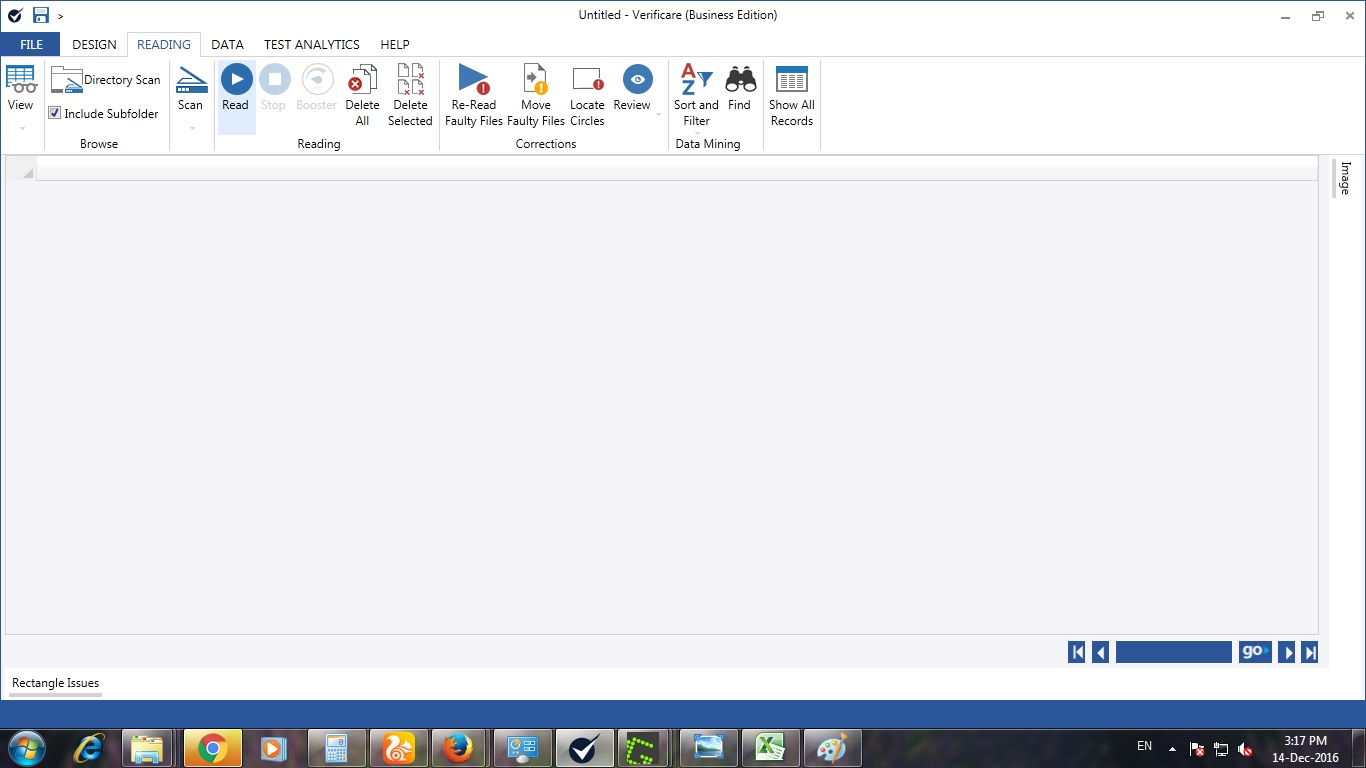
Click on Read button to start reading.

Click on Stop button to stop reading.


Click on the Delete All button to delete all the records from the grid.
Click on the Delete Selected to delete the selected records.

The 're-read faulty files' is used to read the files which are faulty in normal reading.

The Move Faulty Files is used to move the files which are faulty even on re-reading the sheets and needed editing for reading them correctly.

Locate circle is used to see the actual placing of the Dots in the sheets, which will give us an idea of accuracy
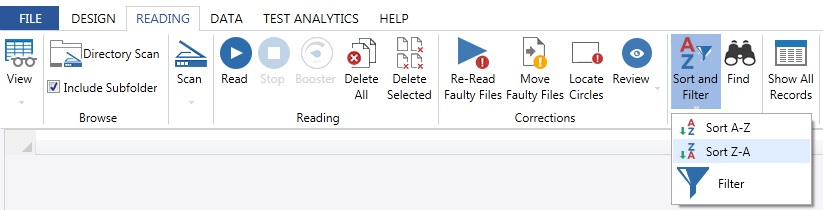
Records can be sorted using Ascending and Descending icons in the Data Section or individual columns can be also be sorted by right click on the column and Sort Smallest to Longest or Sort Longest to Shortest in case of Number type column and selecting A-Z or Z-A in case of text type column. Records can be filtered by clicking on the filter and selecting the required one and deselecting the others or second way is to right click on the column and select the filter Text Filter or Number Filter or custom filter.

Click on the 'Find' icon in the Data Section, a find window will appear, type the word you want to search, it will get highlighted as typed.

Show all records feature is used to refresh the grid and hence will show all the records.

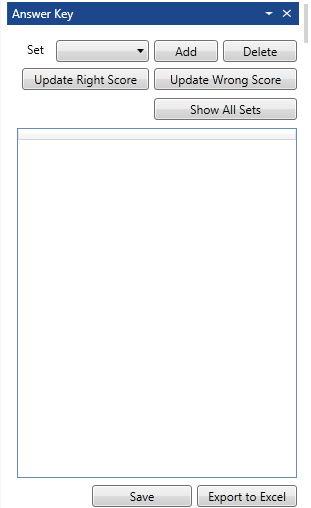
For defining the answer key click on the answer key in Data Section, set the password which is one time activity and then assign the keys to each question set. Update right and wrong score for the corresponding question set.
Answer Key Window
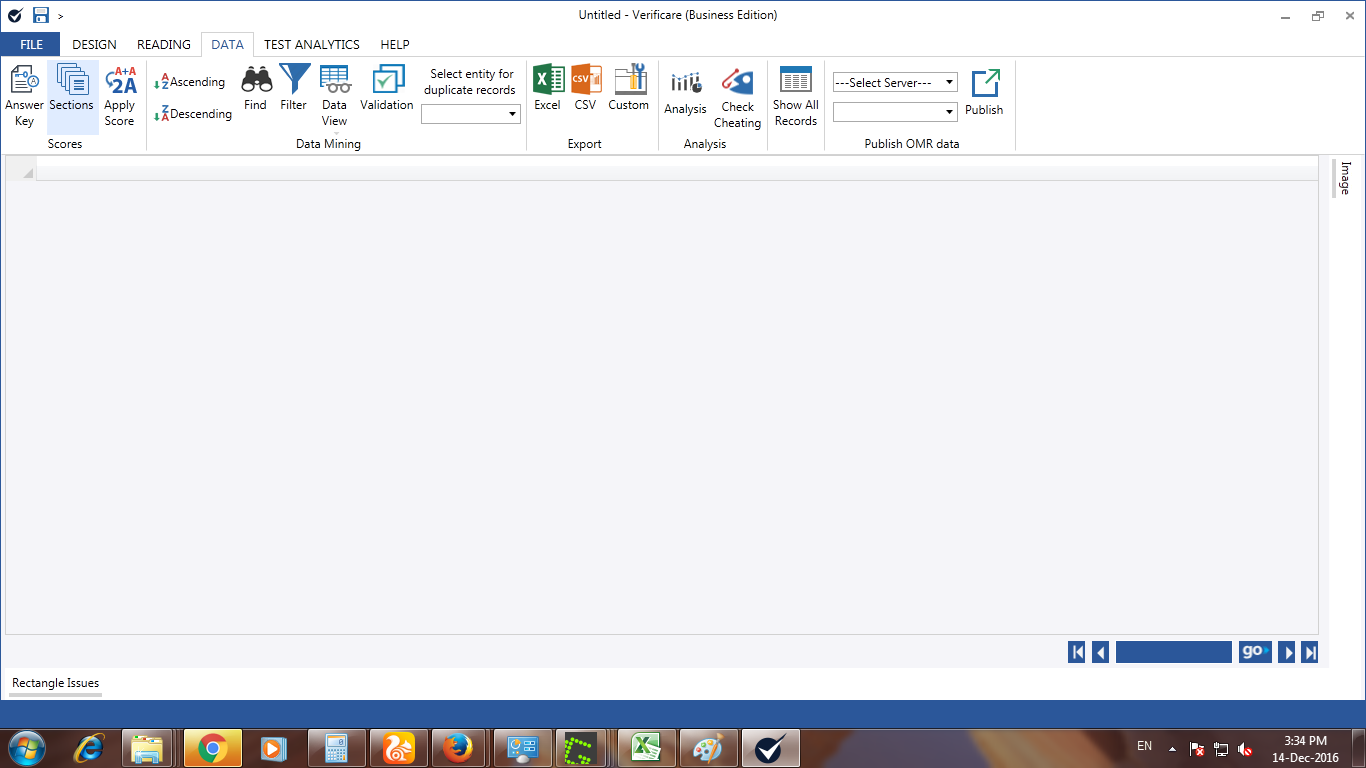
The section feature is used to obtain the scoring in different parts according to the choice. For example a section can be defined for the subject, group or sub-group, area or sub-area wise scoring.

For applying the score, go to 'Data' tab and Click apply Score to assign the marks to the candidates.